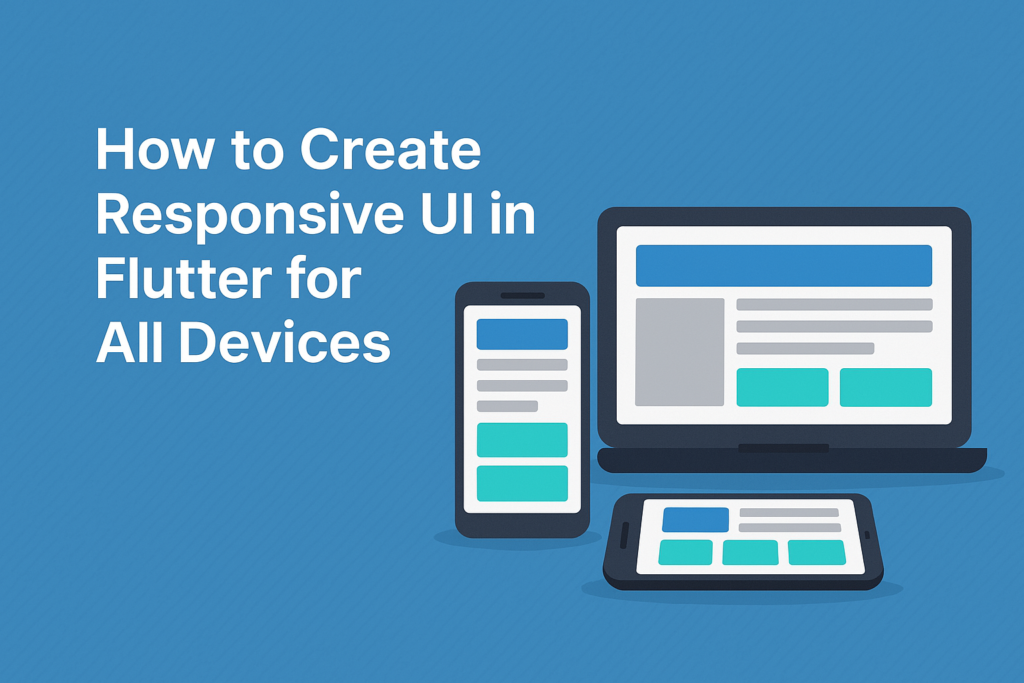
Creating a great app isn’t just about beautiful UI—it’s about building responsive UI in Flutter that works perfectly across phones, tablets, foldables, and desktops. With Flutter running on multiple platforms, understanding responsive design techniques is essential for professional app development.
In this guide, you’ll learn the core tools Flutter provides for responsive layouts, see practical implementations for common patterns, and discover techniques for handling different screen sizes and orientations effectively.
Why Responsive Design Matters in Flutter
Flutter runs everywhere—Android, iOS, web, Windows, macOS, and Linux. This cross-platform capability is powerful, but it creates a challenge: your app must look good on a 4-inch phone, a 12-inch tablet, and a 27-inch desktop monitor.
Without responsive design, your app will face these problems:
- Wasted space: Mobile layouts on tablets leave large empty areas
- Overflow errors: Fixed-width layouts break on narrow screens
- Poor usability: Touch targets sized for phones become tiny on desktop
- Orientation issues: Portrait-only layouts break in landscape mode
Responsive UI ensures your app adapts intelligently to any screen, providing optimal user experience regardless of device.
Understanding Breakpoints
Before diving into widgets, establish consistent breakpoints for your app. These thresholds determine when layouts should change.
// Define breakpoints consistently across your app
class Breakpoints {
  static const double mobile = 600;
  static const double tablet = 900;
  static const double desktop = 1200;

  static bool isMobile(BuildContext context) =>
      MediaQuery.of(context).size.width < mobile;

  static bool isTablet(BuildContext context) {
    final width = MediaQuery.of(context).size.width;
    return width >= mobile && width < desktop;
  }

  static bool isDesktop(BuildContext context) =>
      MediaQuery.of(context).size.width >= desktop;
}
Common breakpoint conventions:
- Mobile: Under 600px
- Tablet: 600px to 900px
- Desktop: 900px and above
These values work for most apps, but adjust based on your specific content and design requirements.
MediaQuery: Getting Screen Information
MediaQuery provides information about the current screen, including size, orientation, pixel density, and platform brightness settings.
Basic MediaQuery Usage
Widget build(BuildContext context) {
  final screenSize = MediaQuery.of(context).size;
  final orientation = MediaQuery.of(context).orientation;
  final padding = MediaQuery.of(context).padding;  // Safe area insets

  return Scaffold(
    body: Padding(
      padding: EdgeInsets.only(top: padding.top),  // Respect notches
      child: screenSize.width < 600
          ? MobileLayout()
          : TabletLayout(),
    ),
  );
}
Responsive Sizing with MediaQuery
Use MediaQuery for responsive sizing that scales with screen dimensions:
Widget build(BuildContext context) {
  final screenWidth = MediaQuery.of(context).size.width;

  // Calculate responsive values
  final horizontalPadding = screenWidth * 0.05;  // 5% of screen width
  final cardWidth = screenWidth < 600
      ? screenWidth - 32  // Full width on mobile
      : 400;              // Fixed width on larger screens

  return Padding(
    padding: EdgeInsets.symmetric(horizontal: horizontalPadding),
    child: SizedBox(
      width: cardWidth,
      child: ProductCard(),
    ),
  );
}
Handling Orientation Changes
Widget build(BuildContext context) {
  final orientation = MediaQuery.of(context).orientation;

  if (orientation == Orientation.portrait) {
    return Column(
      children: [
        HeaderSection(),
        Expanded(child: ContentSection()),
        BottomNavigation(),
      ],
    );
  } else {
    // Landscape: side-by-side layout
    return Row(
      children: [
        SideNavigation(),
        Expanded(child: ContentSection()),
      ],
    );
  }
}
Best for: Fine-tuned control based on exact screen dimensions and device characteristics.
LayoutBuilder: Constraint-Based Layouts
LayoutBuilder provides the parent widget's constraints, making it ideal for components that adapt based on available space rather than total screen size.
Basic LayoutBuilder Usage
Widget build(BuildContext context) {
  return LayoutBuilder(
    builder: (context, constraints) {
      if (constraints.maxWidth < 600) {
        return MobileProductList();
      } else if (constraints.maxWidth < 900) {
        return TabletProductGrid(columns: 2);
      } else {
        return DesktopProductGrid(columns: 4);
      }
    },
  );
}
MediaQuery vs LayoutBuilder
The key difference: MediaQuery gives you the screen size, while LayoutBuilder gives you the available space for this specific widget.
// Consider a widget inside a drawer or dialog
// MediaQuery returns full screen width (e.g., 1200px)
// LayoutBuilder returns the drawer's width (e.g., 300px)

class ProductCard extends StatelessWidget {
  @override
  Widget build(BuildContext context) {
    return LayoutBuilder(
      builder: (context, constraints) {
        // This responds to the card's container, not the screen
        final isCompact = constraints.maxWidth < 200;

        return isCompact
            ? CompactProductCard()
            : ExpandedProductCard();
      },
    );
  }
}
Best for: Reusable components that adapt to their container regardless of screen size.
Flexible, Expanded, and Spacer
These widgets work with Row and Column to create layouts that distribute space dynamically.
Expanded: Fill Available Space
Row(
  children: [
    // Fixed width
    SizedBox(width: 80, child: ProfileAvatar()),
    SizedBox(width: 16),
    // Takes remaining space
    Expanded(
      child: Column(
        crossAxisAlignment: CrossAxisAlignment.start,
        children: [
          Text('Username', style: TextStyle(fontWeight: FontWeight.bold)),
          Text('Last seen recently'),
        ],
      ),
    ),
    // Fixed width
    IconButton(icon: Icon(Icons.more_vert), onPressed: () {}),
  ],
)
Flexible: Proportional Sizing
Row(
  children: [
    // Takes 2/3 of available space
    Flexible(
      flex: 2,
      child: TextField(decoration: InputDecoration(hintText: 'Search')),
    ),
    SizedBox(width: 16),
    // Takes 1/3 of available space
    Flexible(
      flex: 1,
      child: DropdownButton(...),
    ),
  ],
)
Spacer: Push Elements Apart
Row(
  children: [
    Text('Logo'),
    Spacer(),  // Pushes navigation to the right
    TextButton(child: Text('Home'), onPressed: () {}),
    TextButton(child: Text('About'), onPressed: () {}),
    TextButton(child: Text('Contact'), onPressed: () {}),
  ],
)
Best for: Dynamic sizing within rows and columns without explicit width calculations.
Wrap and GridView: Flowing Layouts
When content should flow and wrap based on available space, use Wrap or responsive GridView configurations.
Wrap Widget
Wrap(
  spacing: 8,      // Horizontal gap between items
  runSpacing: 8,   // Vertical gap between rows
  children: categories.map((category) =>
    Chip(
      label: Text(category.name),
      onDeleted: () => removeCategory(category),
    ),
  ).toList(),
)
Responsive GridView
Use GridView.builder with SliverGridDelegateWithMaxCrossAxisExtent for grids that adapt column count automatically:
GridView.builder(
  gridDelegate: SliverGridDelegateWithMaxCrossAxisExtent(
    maxCrossAxisExtent: 300,  // Maximum item width
    mainAxisSpacing: 16,
    crossAxisSpacing: 16,
    childAspectRatio: 0.75,   // Width to height ratio
  ),
  itemCount: products.length,
  itemBuilder: (context, index) => ProductCard(product: products[index]),
)
This grid automatically shows more columns on wider screens without explicit breakpoint logic.
Calculated Column Count
For more control, calculate column count based on screen width:
Widget build(BuildContext context) {
  return LayoutBuilder(
    builder: (context, constraints) {
      final columns = (constraints.maxWidth / 250).floor().clamp(1, 6);

      return GridView.builder(
        gridDelegate: SliverGridDelegateWithFixedCrossAxisCount(
          crossAxisCount: columns,
          mainAxisSpacing: 16,
          crossAxisSpacing: 16,
        ),
        itemCount: items.length,
        itemBuilder: (context, index) => ItemCard(item: items[index]),
      );
    },
  );
}
Best for: Tag clouds, product grids, and any content that should reflow based on available width.
AspectRatio and FittedBox
These widgets help maintain proportions across different screen sizes.
AspectRatio Widget
// Video player that maintains 16:9 ratio
AspectRatio(
  aspectRatio: 16 / 9,
  child: VideoPlayer(controller: _controller),
)

// Square profile picture
AspectRatio(
  aspectRatio: 1,
  child: ClipOval(
    child: Image.network(user.avatarUrl, fit: BoxFit.cover),
  ),
)
FittedBox: Scaling Content
// Scale text to fit available width
FittedBox(
  fit: BoxFit.scaleDown,
  child: Text(
    'Very Long Product Title That Might Overflow',
    style: TextStyle(fontSize: 24),
  ),
)
Best for: Media-heavy UIs, cards, and any content that should maintain specific proportions.
Building a Responsive Scaffold
Here's a complete example combining multiple techniques for a responsive app layout:
class ResponsiveScaffold extends StatelessWidget {
  final Widget body;
  final String title;

  const ResponsiveScaffold({
    required this.body,
    required this.title,
  });

  @override
  Widget build(BuildContext context) {
    return LayoutBuilder(
      builder: (context, constraints) {
        final isDesktop = constraints.maxWidth >= 900;
        final isTablet = constraints.maxWidth >= 600 && constraints.maxWidth < 900;

        if (isDesktop) {
          return _DesktopLayout(title: title, body: body);
        } else if (isTablet) {
          return _TabletLayout(title: title, body: body);
        } else {
          return _MobileLayout(title: title, body: body);
        }
      },
    );
  }
}

class _DesktopLayout extends StatelessWidget {
  final String title;
  final Widget body;

  const _DesktopLayout({required this.title, required this.body});

  @override
  Widget build(BuildContext context) {
    return Scaffold(
      body: Row(
        children: [
          // Permanent side navigation
          NavigationRail(
            extended: true,
            destinations: _navigationDestinations,
            selectedIndex: 0,
            onDestinationSelected: (index) {},
          ),
          VerticalDivider(thickness: 1, width: 1),
          // Main content area
          Expanded(
            child: Column(
              children: [
                _DesktopAppBar(title: title),
                Expanded(child: body),
              ],
            ),
          ),
        ],
      ),
    );
  }
}

class _MobileLayout extends StatelessWidget {
  final String title;
  final Widget body;

  const _MobileLayout({required this.title, required this.body});

  @override
  Widget build(BuildContext context) {
    return Scaffold(
      appBar: AppBar(title: Text(title)),
      drawer: NavigationDrawer(children: _drawerItems),
      body: body,
      bottomNavigationBar: BottomNavigationBar(
        items: _bottomNavItems,
        currentIndex: 0,
        onTap: (index) {},
      ),
    );
  }
}
Responsive Typography
Text sizes should also adapt to screen size for optimal readability:
class ResponsiveText extends StatelessWidget {
  final String text;
  final TextStyle? baseStyle;

  const ResponsiveText(this.text, {this.baseStyle});

  @override
  Widget build(BuildContext context) {
    final screenWidth = MediaQuery.of(context).size.width;

    // Scale factor based on screen width
    double scaleFactor;
    if (screenWidth < 600) {
      scaleFactor = 1.0;
    } else if (screenWidth < 900) {
      scaleFactor = 1.1;
    } else {
      scaleFactor = 1.2;
    }

    final style = (baseStyle ?? Theme.of(context).textTheme.bodyLarge)!
        .copyWith(fontSize: (baseStyle?.fontSize ?? 16) * scaleFactor);

    return Text(text, style: style);
  }
}
Testing Responsive Layouts
Flutter provides several tools for testing responsive designs:
- Device Preview package: Test multiple device sizes simultaneously
- Chrome DevTools: Run in web mode and resize the browser
- Android Studio: Create emulators with different screen sizes
- Widget tests: Test layouts at specific constraint sizes
// Widget test for responsive behavior
testWidgets('shows mobile layout on small screens', (tester) async {
  tester.binding.window.physicalSizeTestValue = Size(400, 800);
  tester.binding.window.devicePixelRatioTestValue = 1.0;

  await tester.pumpWidget(MaterialApp(home: ResponsiveScaffold(...)));

  expect(find.byType(BottomNavigationBar), findsOneWidget);
  expect(find.byType(NavigationRail), findsNothing);
});
Common Mistakes to Avoid
Hardcoding dimensions: Avoid fixed pixel values that don't adapt. Use relative sizing or constraints.
Ignoring safe areas: Always account for notches, status bars, and navigation bars using SafeArea or MediaQuery.padding.
Testing only one size: Test on multiple screen sizes during development, not just at the end.
Overflow errors: Use Expanded, Flexible, or scrollable widgets to prevent overflow on small screens.
Conclusion
Responsive UI in Flutter is essential for apps that run across multiple platforms. By combining MediaQuery, LayoutBuilder, Flexible widgets, and responsive grids, you can create interfaces that adapt beautifully to any screen size.
Start with clear breakpoints, test on multiple devices, and use the right tool for each situation—MediaQuery for screen-level decisions and LayoutBuilder for component-level adaptation.
For more Flutter UI techniques, see our guides on Custom Fonts in Flutter and State Management in Flutter. You can also check the official Flutter responsive UI guide for additional patterns.


1 Comment