Introduction
Automating your software delivery pipeline is essential for modern development teams. Manual deployments are error-prone, time-consuming, and don’t scale as your team grows. GitLab CI/CD provides a powerful, built-in solution that integrates seamlessly with your Git workflow, allowing you to automatically test, build, and deploy your applications with every code change. Unlike external CI/CD tools that require separate configuration and maintenance, GitLab’s pipeline system lives right alongside your code, making it easy to version, review, and maintain. In this comprehensive guide, you’ll learn how to set up a complete CI/CD pipeline from scratch, including testing, building, deploying to multiple environments, and following production-ready best practices.
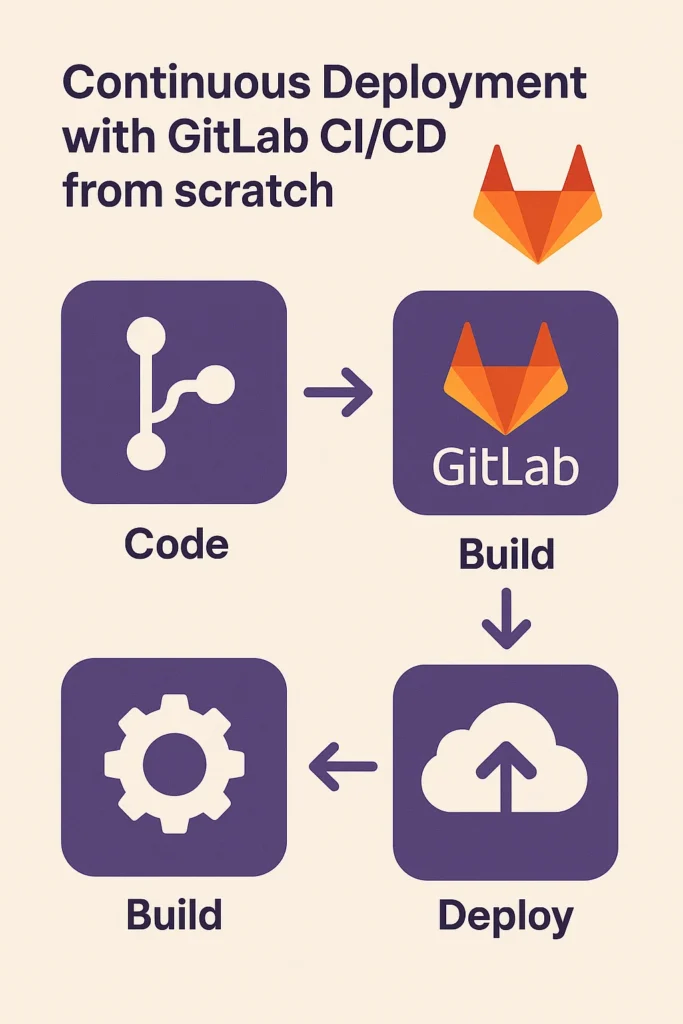
What Is CI/CD?
CI/CD stands for Continuous Integration and Continuous Deployment (or Delivery). These practices form the backbone of modern DevOps workflows.
Continuous Integration (CI) automatically tests and builds your code whenever changes are pushed. Every commit triggers a pipeline that runs your test suite, ensuring new code doesn’t break existing functionality. CI catches bugs early when they’re cheapest to fix.
Continuous Deployment (CD) automatically releases changes to staging or production once they pass all tests. With CD, deployments become routine events that happen multiple times per day rather than stressful monthly releases.
GitLab combines both into a single, built-in system that’s easy to configure yet powerful enough for enterprise teams managing hundreds of microservices.
Step 1: Create a GitLab Repository
Start by creating a new project in GitLab. You can create a blank project, import from GitHub, or push an existing local repository.
# Initialize a new repository locally
git init
git add .
git commit -m "Initial commit"

# Add GitLab as remote and push
git remote add origin https://gitlab.com/username/project-name.git
git branch -M main
git push -u origin main
Once your project is online, GitLab automatically enables CI/CD features. You’ll see the CI/CD menu in your project’s sidebar, ready to run pipelines as soon as you add configuration.
Step 2: Add a .gitlab-ci.yml File
The .gitlab-ci.yml file defines your entire pipeline. Create it in the root of your repository. Here’s a comprehensive example for a Node.js application:
# Define pipeline stages - they run in order
stages:
  - install
  - test
  - build
  - deploy

# Global settings
variables:
  NODE_VERSION: "20"

# Cache node_modules between jobs
cache:
  key: ${CI_COMMIT_REF_SLUG}
  paths:
    - node_modules/
    - .npm/

# Install dependencies
install_dependencies:
  stage: install
  image: node:${NODE_VERSION}
  script:
    - npm ci --cache .npm --prefer-offline
  artifacts:
    paths:
      - node_modules/
    expire_in: 1 hour

# Run linting
lint:
  stage: test
  image: node:${NODE_VERSION}
  script:
    - npm run lint
  dependencies:
    - install_dependencies

# Run unit tests
unit_tests:
  stage: test
  image: node:${NODE_VERSION}
  script:
    - npm run test:unit -- --coverage
  coverage: '/All files[^|]*\|[^|]*\s+([\d\.]+)/'
  artifacts:
    reports:
      junit: junit.xml
      coverage_report:
        coverage_format: cobertura
        path: coverage/cobertura-coverage.xml
  dependencies:
    - install_dependencies

# Run integration tests
integration_tests:
  stage: test
  image: node:${NODE_VERSION}
  services:
    - postgres:15
    - redis:7
  variables:
    POSTGRES_DB: test_db
    POSTGRES_USER: test_user
    POSTGRES_PASSWORD: test_pass
    DATABASE_URL: "postgresql://test_user:test_pass@postgres:5432/test_db"
    REDIS_URL: "redis://redis:6379"
  script:
    - npm run test:integration
  dependencies:
    - install_dependencies

# Build production assets
build:
  stage: build
  image: node:${NODE_VERSION}
  script:
    - npm run build
  artifacts:
    paths:
      - dist/
    expire_in: 1 week
  dependencies:
    - install_dependencies
  only:
    - main
    - develop

# Deploy to staging
deploy_staging:
  stage: deploy
  image: alpine:latest
  before_script:
    - apk add --no-cache openssh-client rsync
    - eval $(ssh-agent -s)
    - echo "$SSH_PRIVATE_KEY" | ssh-add -
    - mkdir -p ~/.ssh
    - echo "$SSH_KNOWN_HOSTS" >> ~/.ssh/known_hosts
  script:
    - rsync -avz --delete dist/ $STAGING_USER@$STAGING_HOST:$STAGING_PATH
    - ssh $STAGING_USER@$STAGING_HOST "cd $STAGING_PATH && pm2 restart ecosystem.config.js --env staging"
  environment:
    name: staging
    url: https://staging.example.com
  dependencies:
    - build
  only:
    - develop

# Deploy to production
deploy_production:
  stage: deploy
  image: alpine:latest
  before_script:
    - apk add --no-cache openssh-client rsync
    - eval $(ssh-agent -s)
    - echo "$SSH_PRIVATE_KEY" | ssh-add -
    - mkdir -p ~/.ssh
    - echo "$SSH_KNOWN_HOSTS" >> ~/.ssh/known_hosts
  script:
    - rsync -avz --delete dist/ $PROD_USER@$PROD_HOST:$PROD_PATH
    - ssh $PROD_USER@$PROD_HOST "cd $PROD_PATH && pm2 restart ecosystem.config.js --env production"
  environment:
    name: production
    url: https://example.com
  dependencies:
    - build
  only:
    - main
  when: manual
Each stage runs sequentially, while jobs within a stage run in parallel. If any job fails, GitLab stops the pipeline automatically, preventing broken code from reaching production.
Step 3: Add Environment Variables
Sensitive data like API keys, SSH credentials, and deployment targets should never be committed to your repository. GitLab provides secure variable storage.
Navigate to your GitLab project → Settings → CI/CD → Variables and add your credentials:
# Essential variables for deployment
SSH_PRIVATE_KEY        # Your deployment SSH private key (masked, protected)
SSH_KNOWN_HOSTS        # SSH known_hosts content for your servers

# Staging environment
STAGING_HOST           # staging.example.com
STAGING_USER           # deploy
STAGING_PATH           # /var/www/staging

# Production environment
PROD_HOST              # example.com
PROD_USER              # deploy
PROD_PATH              # /var/www/production

# Application secrets
DATABASE_URL           # PostgreSQL connection string
REDIS_URL              # Redis connection string
API_SECRET_KEY         # Application secret key
Enable Protected for production variables to ensure they’re only available on protected branches like main. Enable Masked to hide values in job logs.
Step 4: Configure GitLab Runners
GitLab Runners execute your pipeline jobs. You can use GitLab’s shared runners or set up your own for better performance and security.
Using Shared Runners
GitLab.com provides free shared runners that work out of the box. They’re suitable for most projects and require no configuration.
Setting Up Self-Hosted Runners
For faster builds or private network access, install your own runner:
# Install GitLab Runner on Ubuntu
curl -L --output /usr/local/bin/gitlab-runner https://gitlab-runner-downloads.s3.amazonaws.com/latest/binaries/gitlab-runner-linux-amd64
chmod +x /usr/local/bin/gitlab-runner
gitlab-runner install --user=gitlab-runner --working-directory=/home/gitlab-runner
gitlab-runner start

# Register the runner
gitlab-runner register \
  --url https://gitlab.com/ \
  --registration-token YOUR_REGISTRATION_TOKEN \
  --executor docker \
  --docker-image alpine:latest \
  --description "My Docker Runner" \
  --tag-list "docker,linux"
Self-hosted runners can access private networks, use cached Docker images, and provide consistent build environments.
Step 5: Implement Docker-Based Deployments
For more robust deployments, use Docker containers. Here’s a pipeline that builds and deploys Docker images:
stages:
  - test
  - build
  - deploy

variables:
  DOCKER_IMAGE: $CI_REGISTRY_IMAGE
  DOCKER_TAG: $CI_COMMIT_SHA

# Build Docker image
build_image:
  stage: build
  image: docker:24
  services:
    - docker:24-dind
  variables:
    DOCKER_TLS_CERTDIR: "/certs"
  before_script:
    - docker login -u $CI_REGISTRY_USER -p $CI_REGISTRY_PASSWORD $CI_REGISTRY
  script:
    - docker build -t $DOCKER_IMAGE:$DOCKER_TAG -t $DOCKER_IMAGE:latest .
    - docker push $DOCKER_IMAGE:$DOCKER_TAG
    - docker push $DOCKER_IMAGE:latest
  only:
    - main
    - develop

# Deploy with Docker Compose
deploy_docker:
  stage: deploy
  image: alpine:latest
  before_script:
    - apk add --no-cache openssh-client
    - eval $(ssh-agent -s)
    - echo "$SSH_PRIVATE_KEY" | ssh-add -
    - mkdir -p ~/.ssh
    - echo "$SSH_KNOWN_HOSTS" >> ~/.ssh/known_hosts
  script:
    - |
      ssh $DEPLOY_USER@$DEPLOY_HOST << EOF
        cd $DEPLOY_PATH
        docker login -u $CI_REGISTRY_USER -p $CI_REGISTRY_PASSWORD $CI_REGISTRY
        docker pull $DOCKER_IMAGE:$DOCKER_TAG
        docker-compose down
        export IMAGE_TAG=$DOCKER_TAG
        docker-compose up -d
        docker system prune -f
      EOF
  environment:
    name: production
    url: https://example.com
  only:
    - main
  when: manual
Step 6: Monitor and Debug Pipelines
GitLab provides comprehensive pipeline monitoring through the CI/CD → Pipelines interface. Each pipeline shows job status, duration, and detailed logs.
Pipeline Visualization
The pipeline graph shows job dependencies and parallel execution. Failed jobs are highlighted in red with one-click access to logs.
Environment Tracking
The Deployments → Environments page shows which commits are deployed to each environment, with one-click rollback capability.
Debugging Failed Jobs
# Add debug output to troubleshoot failures
debug_job:
  stage: test
  script:
    - echo "Current directory: $(pwd)"
    - echo "Files: $(ls -la)"
    - echo "Environment variables:"
    - env | grep -v PASSWORD | grep -v SECRET | sort
    - npm run test -- --verbose
Best Practices for Production Pipelines
Following these practices ensures reliable, maintainable CI/CD pipelines:
Use Branch-Specific Pipelines
# Different behavior per branch
deploy:
  script: ./deploy.sh
  rules:
    - if: $CI_COMMIT_BRANCH == "main"
      variables:
        ENVIRONMENT: production
    - if: $CI_COMMIT_BRANCH == "develop"
      variables:
        ENVIRONMENT: staging
    - if: $CI_MERGE_REQUEST_ID
      variables:
        ENVIRONMENT: review
Implement Pipeline Caching
# Cache dependencies between pipelines
cache:
  key:
    files:
      - package-lock.json
  paths:
    - node_modules/
  policy: pull-push
Use Templates for Reusability
# Define reusable templates
.deploy_template: &deploy_template
  image: alpine:latest
  before_script:
    - apk add --no-cache openssh-client
    - eval $(ssh-agent -s)
    - echo "$SSH_PRIVATE_KEY" | ssh-add -

deploy_staging:
  <<: *deploy_template
  script: ./deploy.sh staging

deploy_production:
  <<: *deploy_template
  script: ./deploy.sh production
Add Manual Approval Gates
# Require manual approval for production
deploy_production:
  stage: deploy
  script: ./deploy.sh production
  when: manual
  allow_failure: false
  only:
    - main
Common Mistakes to Avoid
Not using artifacts correctly: Pass build outputs between stages using artifacts, not cache. Artifacts are guaranteed to be available; cache is best-effort.
Ignoring pipeline duration: Long pipelines slow down development. Use caching, parallel jobs, and consider splitting large test suites.
Storing secrets in code: Never commit API keys, passwords, or certificates. Always use GitLab's protected variables.
No rollback strategy: Always have a way to quickly revert deployments. Use environment tracking and keep previous Docker images or build artifacts.
Skipping staging: Always test deployments in a staging environment before production, especially for infrastructure changes.
Final Thoughts
GitLab CI/CD makes continuous deployment simple, powerful, and scalable. With just a .gitlab-ci.yml file, you can automate everything — from linting and testing to building Docker images and deploying to multiple environments — in minutes. The integrated approach means your pipeline configuration is versioned alongside your code, reviewed in merge requests, and always in sync with your application. As your team grows, GitLab scales with you, supporting complex workflows with approval gates, environment-specific deployments, and comprehensive monitoring. If you're exploring other CI/CD setups, check out CI/CD with GitHub, Firebase, and Docker. To dive deeper into automation best practices and advanced features, see the GitLab CI/CD documentation.