
Introduction
Modern applications run in containers — lightweight, isolated environments that bundle everything an app needs. But when you have hundreds of containers running across multiple servers, managing them manually becomes impossible. That’s where Kubernetes comes in. It’s an open-source platform that automates deployment, scaling, and management of containerised applications. In this comprehensive guide, you’ll learn everything from Kubernetes fundamentals to deploying production-ready applications with proper configurations, health checks, and resource management.
What Is Kubernetes?
Kubernetes (K8s) is a container orchestration system originally developed by Google based on their internal system called Borg. Now maintained by the Cloud Native Computing Foundation (CNCF), it helps developers run containers in clusters of machines, ensuring reliability, scalability, and zero downtime during updates.
Key Features
- Automatic scaling: Kubernetes adjusts container replicas based on CPU, memory, or custom metrics.
- Self-healing: If a container fails, Kubernetes automatically replaces it and reschedules pods on healthy nodes.
- Load balancing: It distributes traffic across running pods evenly using Services.
- Rolling updates: Deploy new versions without downtime, with automatic rollback if issues occur.
- Secret and configuration management: Store sensitive data separately from application code.
- Storage orchestration: Automatically mount local, cloud, or network storage systems.
In short, Kubernetes helps you run applications in production without worrying about individual servers or containers.
Kubernetes Architecture Explained
Understanding the architecture helps you troubleshoot issues and design better deployments.
Control Plane Components
# Kubernetes Architecture Overview
# ================================
#
# Control Plane (Master Node)
# ├── kube-apiserver      → API gateway for all operations
# ├── etcd                → Distributed key-value store for cluster state
# ├── kube-scheduler      → Assigns pods to nodes based on resources
# └── kube-controller-manager → Runs controllers (deployment, replicaset, etc.)
#
# Worker Nodes
# ├── kubelet             → Agent that ensures containers are running
# ├── kube-proxy          → Network proxy for service communication
# └── Container Runtime   → Docker, containerd, or CRI-O
Core Kubernetes Objects
- Pod: The smallest deployable unit — a group of one or more containers sharing storage and network.
- ReplicaSet: Ensures a specified number of pod replicas are running at all times.
- Deployment: Manages ReplicaSets and provides declarative updates for pods.
- Service: Exposes pods to the network with stable DNS names and IP addresses.
- ConfigMap: Stores non-sensitive configuration data as key-value pairs.
- Secret: Stores sensitive data like passwords, tokens, and certificates.
- Namespace: Logical grouping to isolate workloads within a cluster.
- Ingress: Manages external HTTP/HTTPS access to services.
Setting Up Kubernetes Locally
You can try Kubernetes locally with Minikube, kind, or k3d. For cloud deployments, consider Google Kubernetes Engine (GKE), Amazon EKS, or Azure AKS.
Install Minikube and kubectl
# macOS installation
brew install minikube kubectl

# Linux installation
curl -LO https://storage.googleapis.com/minikube/releases/latest/minikube-linux-amd64
sudo install minikube-linux-amd64 /usr/local/bin/minikube

curl -LO "https://dl.k8s.io/release/$(curl -L -s https://dl.k8s.io/release/stable.txt)/bin/linux/amd64/kubectl"
sudo install kubectl /usr/local/bin/kubectl

# Start the cluster with specific resources
minikube start --cpus=4 --memory=8192 --driver=docker

# Verify installation
kubectl version --client
kubectl get nodes
You should see one node listed as “Ready.”
Enable Useful Addons
# Enable the Kubernetes dashboard
minikube addons enable dashboard
minikube addons enable metrics-server
minikube addons enable ingress

# View available addons
minikube addons list

# Access the dashboard
minikube dashboard
Deploying Your First Application
Let’s deploy a complete web application with a proper YAML configuration rather than imperative commands.
Deployment YAML Configuration
# deployment.yaml
apiVersion: apps/v1
kind: Deployment
metadata:
  name: webapp
  labels:
    app: webapp
    environment: production
spec:
  replicas: 3
  selector:
    matchLabels:
      app: webapp
  template:
    metadata:
      labels:
        app: webapp
        version: v1.0.0
    spec:
      containers:
      - name: webapp
        image: nginx:1.25-alpine
        ports:
        - containerPort: 80
          name: http
        resources:
          requests:
            memory: "64Mi"
            cpu: "100m"
          limits:
            memory: "128Mi"
            cpu: "200m"
        livenessProbe:
          httpGet:
            path: /
            port: 80
          initialDelaySeconds: 10
          periodSeconds: 10
          failureThreshold: 3
        readinessProbe:
          httpGet:
            path: /
            port: 80
          initialDelaySeconds: 5
          periodSeconds: 5
        volumeMounts:
        - name: config-volume
          mountPath: /usr/share/nginx/html
      volumes:
      - name: config-volume
        configMap:
          name: webapp-content
ConfigMap for Application Content
# configmap.yaml
apiVersion: v1
kind: ConfigMap
metadata:
  name: webapp-content
data:
  index.html: |
    <!DOCTYPE html>
    <html>
    <head>
      <title>Kubernetes Demo</title>
      <style>
        body { font-family: Arial, sans-serif; text-align: center; padding: 50px; }
        .container { max-width: 600px; margin: 0 auto; }
        h1 { color: #326CE5; }
      </style>
    </head>
    <body>
      <div class="container">
        <h1>Welcome to Kubernetes!</h1>
        <p>Running on pod: <strong>${HOSTNAME}</strong></p>
      </div>
    </body>
    </html>
Service Configuration
# service.yaml
apiVersion: v1
kind: Service
metadata:
  name: webapp-service
spec:
  type: LoadBalancer
  selector:
    app: webapp
  ports:
  - name: http
    port: 80
    targetPort: 80
    protocol: TCP
---
# For local development with Minikube, use NodePort
apiVersion: v1
kind: Service
metadata:
  name: webapp-nodeport
spec:
  type: NodePort
  selector:
    app: webapp
  ports:
  - port: 80
    targetPort: 80
    nodePort: 30080
Apply the Configurations
# Apply all configurations
kubectl apply -f configmap.yaml
kubectl apply -f deployment.yaml
kubectl apply -f service.yaml

# Or apply everything in a directory
kubectl apply -f ./k8s/

# Watch pods come up
kubectl get pods -w

# Access the application
minikube service webapp-nodeport
Ingress for External Access
For production, use Ingress to manage external HTTP/HTTPS access with routing rules.
# ingress.yaml
apiVersion: networking.k8s.io/v1
kind: Ingress
metadata:
  name: webapp-ingress
  annotations:
    nginx.ingress.kubernetes.io/rewrite-target: /
    nginx.ingress.kubernetes.io/ssl-redirect: "false"
spec:
  ingressClassName: nginx
  rules:
  - host: webapp.local
    http:
      paths:
      - path: /
        pathType: Prefix
        backend:
          service:
            name: webapp-service
            port:
              number: 80
      - path: /api
        pathType: Prefix
        backend:
          service:
            name: api-service
            port:
              number: 8080
# Apply ingress
kubectl apply -f ingress.yaml
# Get ingress IP (for cloud providers)
kubectl get ingress
# For Minikube, add to /etc/hosts
echo "$(minikube ip) webapp.local" | sudo tee -a /etc/hostsSecrets Management
Store sensitive configuration separately from your application code.
# Create secrets from literal values
kubectl create secret generic db-credentials \
  --from-literal=username=admin \
  --from-literal=password=secretpassword123

# Or from a file
kubectl create secret generic tls-certs \
  --from-file=cert.pem \
  --from-file=key.pem
# secret.yaml - Declarative approach
apiVersion: v1
kind: Secret
metadata:
name: db-credentials
type: Opaque
data:
# Values must be base64 encoded
# echo -n 'admin' | base64 → YWRtaW4=
username: YWRtaW4=
password: c2VjcmV0cGFzc3dvcmQxMjM=# Using secrets in a deployment
apiVersion: apps/v1
kind: Deployment
metadata:
name: backend-api
spec:
replicas: 2
selector:
matchLabels:
app: backend
template:
metadata:
labels:
app: backend
spec:
containers:
- name: api
image: myapp/backend:v1.2.0
env:
- name: DB_USERNAME
valueFrom:
secretKeyRef:
name: db-credentials
key: username
- name: DB_PASSWORD
valueFrom:
secretKeyRef:
name: db-credentials
key: password
- name: APP_ENV
valueFrom:
configMapKeyRef:
name: app-config
key: environmentScaling and Autoscaling
Manual Scaling
# Scale to 5 replicas
kubectl scale deployment webapp --replicas=5

# Verify scaling
kubectl get pods -l app=webapp
kubectl get deployment webapp
Horizontal Pod Autoscaler
# hpa.yaml
apiVersion: autoscaling/v2
kind: HorizontalPodAutoscaler
metadata:
  name: webapp-hpa
spec:
  scaleTargetRef:
    apiVersion: apps/v1
    kind: Deployment
    name: webapp
  minReplicas: 2
  maxReplicas: 10
  metrics:
  - type: Resource
    resource:
      name: cpu
      target:
        type: Utilization
        averageUtilization: 70
  - type: Resource
    resource:
      name: memory
      target:
        type: Utilization
        averageUtilization: 80
  behavior:
    scaleDown:
      stabilizationWindowSeconds: 300
      policies:
      - type: Percent
        value: 10
        periodSeconds: 60
    scaleUp:
      stabilizationWindowSeconds: 0
      policies:
      - type: Percent
        value: 100
        periodSeconds: 15
# Apply and monitor HPA
kubectl apply -f hpa.yaml
kubectl get hpa -w
# Generate load to test autoscaling
kubectl run -i --tty load-generator --rm --image=busybox --restart=Never -- \
/bin/sh -c "while sleep 0.01; do wget -q -O- http://webapp-service; done"Rolling Updates and Rollbacks
# Update the image
kubectl set image deployment/webapp webapp=nginx:1.26-alpine

# Watch the rollout
kubectl rollout status deployment/webapp

# View rollout history
kubectl rollout history deployment/webapp

# Rollback to previous version
kubectl rollout undo deployment/webapp

# Rollback to specific revision
kubectl rollout undo deployment/webapp --to-revision=2
Deployment Strategies
# Rolling Update (default)
spec:
  strategy:
    type: RollingUpdate
    rollingUpdate:
      maxSurge: 25%        # Max pods over desired count
      maxUnavailable: 25%  # Max pods that can be unavailable

# Recreate - Kill all old pods first
spec:
  strategy:
    type: Recreate
Monitoring and Debugging
# List all pods with more details
kubectl get pods -o wide

# Describe pod for detailed info
kubectl describe pod webapp-abc123

# View pod logs
kubectl logs webapp-abc123
kubectl logs webapp-abc123 -c container-name  # Multi-container pod
kubectl logs -f webapp-abc123  # Follow logs
kubectl logs --previous webapp-abc123  # Logs from crashed container

# Execute commands in a pod
kubectl exec -it webapp-abc123 -- /bin/sh
kubectl exec webapp-abc123 -- cat /etc/nginx/nginx.conf

# Port forward for local debugging
kubectl port-forward pod/webapp-abc123 8080:80
kubectl port-forward service/webapp-service 8080:80

# View resource usage (requires metrics-server)
kubectl top pods
kubectl top nodes

# Get events for troubleshooting
kubectl get events --sort-by='.lastTimestamp'
Common Mistakes to Avoid
1. Not Setting Resource Limits
# BAD: No resource limits - can consume all node resources
containers:
- name: app
  image: myapp:v1

# GOOD: Always set requests and limits
containers:
- name: app
  image: myapp:v1
  resources:
    requests:
      memory: "128Mi"
      cpu: "100m"
    limits:
      memory: "256Mi"
      cpu: "500m"
2. Missing Health Checks
# BAD: No health checks - Kubernetes can't detect unhealthy pods
containers:
- name: app
  image: myapp:v1

# GOOD: Define both liveness and readiness probes
containers:
- name: app
  image: myapp:v1
  livenessProbe:
    httpGet:
      path: /health
      port: 8080
    initialDelaySeconds: 30
    periodSeconds: 10
  readinessProbe:
    httpGet:
      path: /ready
      port: 8080
    initialDelaySeconds: 5
    periodSeconds: 5
3. Using Latest Tag in Production
# BAD: Unpredictable deployments
image: myapp:latest

# GOOD: Use specific version tags
image: myapp:v1.2.3
4. Storing Secrets in ConfigMaps
# BAD: Sensitive data in ConfigMap (not encrypted)
apiVersion: v1
kind: ConfigMap
metadata:
  name: app-config
data:
  database_password: mysecretpassword

# GOOD: Use Secrets for sensitive data
apiVersion: v1
kind: Secret
metadata:
  name: app-secrets
type: Opaque
data:
  database_password: bXlzZWNyZXRwYXNzd29yZA==
5. Running as Root
# GOOD: Set security context
spec:
  securityContext:
    runAsNonRoot: true
    runAsUser: 1000
    fsGroup: 2000
  containers:
  - name: app
    securityContext:
      allowPrivilegeEscalation: false
      readOnlyRootFilesystem: true
Namespace Organization
# Create namespaces for environment isolation
kubectl create namespace development
kubectl create namespace staging
kubectl create namespace production

# Deploy to specific namespace
kubectl apply -f deployment.yaml -n production

# Set default namespace for kubectl
kubectl config set-context --current --namespace=development

# View resources across all namespaces
kubectl get pods --all-namespaces
kubectl get pods -A  # Shorthand
Best Practices Summary
- Keep configurations in version control using YAML files — avoid imperative commands in production.
- Use namespaces for separation between environments (dev, staging, prod).
- Apply resource limits (CPU, memory) to avoid noisy neighbor problems.
- Always define liveness and readiness probes for production workloads.
- Use specific image tags, never
latestin production. - Implement Pod Disruption Budgets for high availability.
- Automate deployments using CI/CD tools like GitLab CI, GitHub Actions, or ArgoCD.
- Regularly back up your cluster state using Velero or similar tools.
- Use NetworkPolicies to restrict pod-to-pod communication.
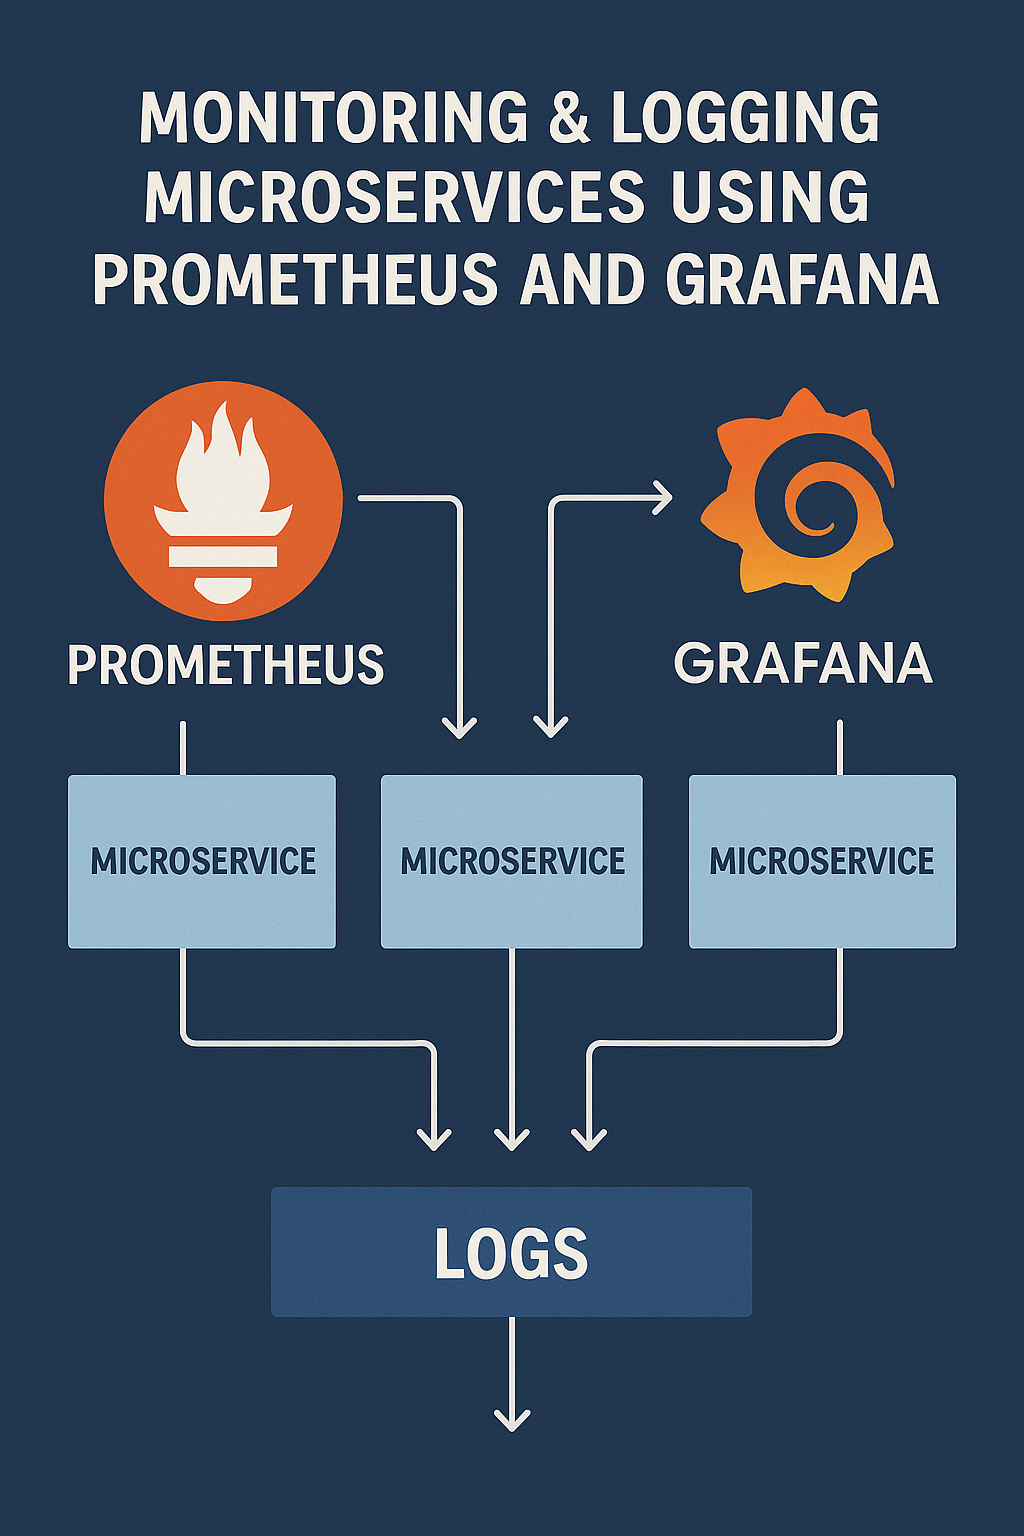
- Monitor with Prometheus and Grafana for observability.
Final Thoughts
Kubernetes simplifies running and scaling containerised applications. Once you master its basics — pods, deployments, services, and ConfigMaps — you can automate complex workflows and scale effortlessly. The declarative approach means you describe what you want, and Kubernetes figures out how to make it happen.
Start with local development using Minikube, graduate to managed services like GKE or EKS for production, and always follow security and resource management best practices. Kubernetes is the foundation for modern DevOps and cloud-native systems.
To extend your setup with monitoring, check out Monitoring & Logging Microservices Using Prometheus and Grafana. For understanding microservices architecture patterns, see Microservices Architecture Patterns. For the official reference, visit the Kubernetes Official Docs.

1 Comment