Every Flutter app that communicates with APIs faces the same challenge: managing loading states, handling errors, and updating UI reactively. Manual approaches with boolean flags and try-catch blocks quickly become unmaintainable. Riverpod async notifiers solve this elegantly by providing built-in lifecycle management for asynchronous operations.
This guide covers everything you need to implement Riverpod async notifiers in production Flutter applications. You’ll learn the core patterns, see real-world examples, understand error handling strategies, and discover testing approaches that make your code reliable and maintainable.
Understanding Riverpod Async Notifiers
Introduced in Riverpod 2.0, AsyncNotifier is designed specifically for providers that fetch data asynchronously. Unlike StateNotifier, which requires manual state management for async operations, AsyncNotifier automatically wraps your data in AsyncValue—a type that represents loading, error, and data states.
The AsyncValue Type
AsyncValue<T> is the foundation of Riverpod async notifiers. It has three states:
- AsyncLoading: The async operation is in progress
- AsyncData: The operation completed successfully with data
- AsyncError: The operation failed with an error
This explicit state modeling eliminates the boolean flags (isLoading, hasError) that plague manual implementations. Your UI code becomes declarative and exhaustive—you handle all states or the compiler warns you.
AsyncNotifier vs Alternatives
Before Riverpod 2.0, developers used FutureProvider or StateNotifier for async state. Each had limitations:
FutureProvider works well for read-only data but doesn’t support mutations or manual refreshes without workarounds.
StateNotifier requires manually managing AsyncValue states, leading to boilerplate code for every async operation.
AsyncNotifier combines the best of both: automatic AsyncValue handling with full support for mutations and refreshes. For new projects, it’s the recommended approach for any provider that fetches data.
Implementing Your First Async Notifier
Let’s build a complete example: a user profile feature that fetches data from an API.
Define the Data Model
class User {
  final String id;
  final String name;
  final String email;
  final String? avatarUrl;

  const User({
    required this.id,
    required this.name,
    required this.email,
    this.avatarUrl,
  });

  factory User.fromJson(Map<String, dynamic> json) {
    return User(
      id: json['id'] as String,
      name: json['name'] as String,
      email: json['email'] as String,
      avatarUrl: json['avatar_url'] as String?,
    );
  }
}
Create the Repository
Separate data fetching logic from state management. This makes testing easier and keeps responsibilities clear:
class UserRepository {
  final http.Client _client;
  final String _baseUrl;

  UserRepository(this._client, this._baseUrl);

  Future<User> getUser(String userId) async {
    final response = await _client.get(
      Uri.parse('$_baseUrl/users/$userId'),
    );

    if (response.statusCode != 200) {
      throw ApiException(
        'Failed to fetch user',
        statusCode: response.statusCode,
      );
    }

    final json = jsonDecode(response.body) as Map<String, dynamic>;
    return User.fromJson(json);
  }

  Future<User> updateUser(String userId, Map<String, dynamic> updates) async {
    final response = await _client.patch(
      Uri.parse('$_baseUrl/users/$userId'),
      body: jsonEncode(updates),
      headers: {'Content-Type': 'application/json'},
    );

    if (response.statusCode != 200) {
      throw ApiException(
        'Failed to update user',
        statusCode: response.statusCode,
      );
    }

    final json = jsonDecode(response.body) as Map<String, dynamic>;
    return User.fromJson(json);
  }
}

// Register repository as a provider
final userRepositoryProvider = Provider<UserRepository>((ref) {
  return UserRepository(http.Client(), 'https://api.example.com');
});
Create the Async Notifier
class UserNotifier extends AsyncNotifier<User> {
  @override
  Future<User> build() async {
    // This runs automatically when the provider is first accessed
    // Access dependencies using ref
    final repository = ref.watch(userRepositoryProvider);
    final userId = ref.watch(currentUserIdProvider);

    return repository.getUser(userId);
  }

  Future<void> updateName(String newName) async {
    final repository = ref.read(userRepositoryProvider);
    final userId = ref.read(currentUserIdProvider);

    // Preserve previous data during update (optimistic update pattern)
    final previousState = state;

    // Show loading state while keeping previous data visible
    state = const AsyncLoading<User>().copyWithPrevious(previousState);

    state = await AsyncValue.guard(() async {
      return repository.updateUser(userId, {'name': newName});
    });
  }

  Future<void> refresh() async {
    // Reset to loading state
    state = const AsyncLoading();

    // Refetch data
    state = await AsyncValue.guard(() => build());
  }
}

// Register the provider
final userProvider = AsyncNotifierProvider<UserNotifier, User>(() {
  return UserNotifier();
});
Consume in Widgets
class UserProfileScreen extends ConsumerWidget {
const UserProfileScreen({super.key});
@override
Widget build(BuildContext context, WidgetRef ref) {
final userAsync = ref.watch(userProvider);
return Scaffold(
appBar: AppBar(
title: const Text('Profile'),
actions: [
IconButton(
icon: const Icon(Icons.refresh),
onPressed: () => ref.read(userProvider.notifier).refresh(),
),
],
),
body: userAsync.when(
data: (user) => UserProfileContent(user: user),
loading: () => const Center(child: CircularProgressIndicator()),
error: (error, stackTrace) => ErrorDisplay(
error: error,
onRetry: () => ref.read(userProvider.notifier).refresh(),
),
),
);
}
}
class UserProfileContent extends ConsumerWidget {
final User user;
const UserProfileContent({super.key, required this.user});
@override
Widget build(BuildContext context, WidgetRef ref) {
return ListView(
padding: const EdgeInsets.all(16),
children: [
if (user.avatarUrl != null)
CircleAvatar(
radius: 50,
backgroundImage: NetworkImage(user.avatarUrl!),
),
const SizedBox(height: 16),
Text(user.name, style: Theme.of(context).textTheme.headlineMedium),
Text(user.email, style: Theme.of(context).textTheme.bodyLarge),
const SizedBox(height: 24),
ElevatedButton(
onPressed: () => _showEditNameDialog(context, ref),
child: const Text('Edit Name'),
),
],
);
}
void _showEditNameDialog(BuildContext context, WidgetRef ref) {
final controller = TextEditingController(text: user.name);
showDialog(
context: context,
builder: (context) => AlertDialog(
title: const Text('Edit Name'),
content: TextField(
controller: controller,
decoration: const InputDecoration(labelText: 'Name'),
),
actions: [
TextButton(
onPressed: () => Navigator.pop(context),
child: const Text('Cancel'),
),
ElevatedButton(
onPressed: () {
ref.read(userProvider.notifier).updateName(controller.text);
Navigator.pop(context);
},
child: const Text('Save'),
),
],
),
);
}
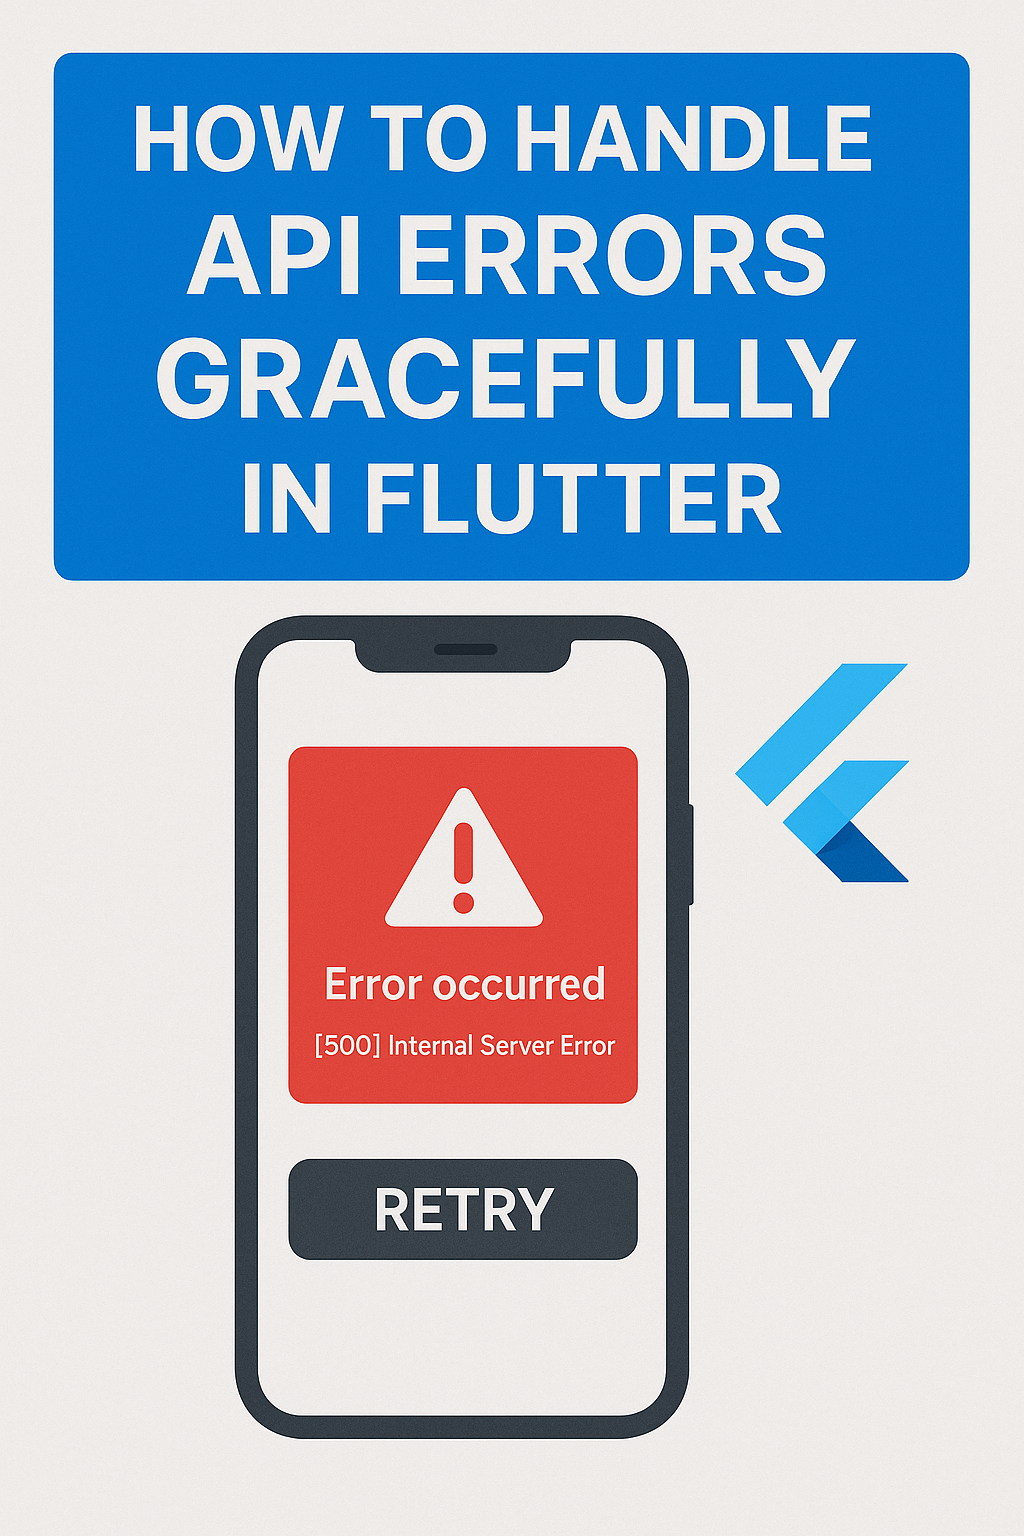
}Error Handling Strategies
Production apps need robust error handling. Riverpod async notifiers provide several patterns for different scenarios.
Using AsyncValue.guard
AsyncValue.guard wraps a future and catches exceptions, converting them to AsyncError:
Future<void> performAction() async {
  state = const AsyncLoading();

  state = await AsyncValue.guard(() async {
    // Any exception here becomes AsyncError
    return someAsyncOperation();
  });
}
Granular Error Handling
Sometimes you need to handle specific errors differently:
Future<void> updateProfile(Map<String, dynamic> data) async {
  state = const AsyncLoading<User>().copyWithPrevious(state);

  try {
    final repository = ref.read(userRepositoryProvider);
    final updatedUser = await repository.updateUser(userId, data);
    state = AsyncData(updatedUser);
  } on NetworkException catch (e) {
    // Handle network errors specifically
    state = AsyncError(e, StackTrace.current);
    // Maybe trigger offline mode
  } on ValidationException catch (e) {
    // Handle validation errors differently
    state = AsyncError(e, StackTrace.current);
    // Maybe show field-specific errors
  } catch (e, stackTrace) {
    // Handle unexpected errors
    state = AsyncError(e, stackTrace);
    // Maybe log to crash reporting
  }
}
Preserving Previous Data During Errors
Use copyWithPrevious to keep showing stale data while displaying an error indicator:
// In widget
userAsync.when(
  data: (user) => UserContent(user: user),
  loading: () {
    // Check if we have previous data
    final previousUser = userAsync.valueOrNull;
    if (previousUser != null) {
      return Stack(
        children: [
          UserContent(user: previousUser),
          const LinearProgressIndicator(),
        ],
      );
    }
    return const CircularProgressIndicator();
  },
  error: (error, _) {
    final previousUser = userAsync.valueOrNull;
    if (previousUser != null) {
      return Column(
        children: [
          ErrorBanner(error: error),
          UserContent(user: previousUser),
        ],
      );
    }
    return ErrorDisplay(error: error);
  },
);
Working with Family Providers
When you need different instances based on parameters (like fetching different users by ID), use AsyncNotifierProvider.family:
class UserByIdNotifier extends FamilyAsyncNotifier<User, String> {
  @override
  Future<User> build(String userId) async {
    final repository = ref.watch(userRepositoryProvider);
    return repository.getUser(userId);
  }

  Future<void> refresh() async {
    state = const AsyncLoading();
    state = await AsyncValue.guard(() => build(arg));
  }
}

final userByIdProvider = AsyncNotifierProvider.family<UserByIdNotifier, User, String>(() {
  return UserByIdNotifier();
});

// Usage
class UserDetailScreen extends ConsumerWidget {
  final String userId;

  const UserDetailScreen({super.key, required this.userId});

  @override
  Widget build(BuildContext context, WidgetRef ref) {
    final userAsync = ref.watch(userByIdProvider(userId));

    return userAsync.when(
      data: (user) => UserDetail(user: user),
      loading: () => const LoadingIndicator(),
      error: (e, _) => ErrorDisplay(error: e),
    );
  }
}
Caching and Invalidation
Riverpod automatically caches provider state while it has active listeners. Understanding invalidation patterns is crucial for correct behavior.
Manual Invalidation
// From outside the notifier
ref.invalidate(userProvider);

// This triggers a rebuild, refetching data
// Useful after mutations that affect the data
Cross-Provider Invalidation
When one provider’s mutation affects another provider’s data:
class OrderNotifier extends AsyncNotifier<Order> {
  Future<void> completeOrder() async {
    state = const AsyncLoading<Order>().copyWithPrevious(state);

    state = await AsyncValue.guard(() async {
      final repository = ref.read(orderRepositoryProvider);
      final order = await repository.completeOrder(orderId);

      // Invalidate related providers
      ref.invalidate(userOrdersProvider);
      ref.invalidate(cartProvider);

      return order;
    });
  }
}
Auto-Dispose Behavior
By default, AsyncNotifierProvider keeps state alive as long as it has listeners. Use autoDispose for data that should be garbage collected:
// State disposed when no longer watched
final searchResultsProvider = AsyncNotifierProvider.autoDispose<SearchNotifier, List<Product>>(() {
  return SearchNotifier();
});
Testing Riverpod Async Notifiers
Testing async notifiers is straightforward with Riverpod’s ProviderContainer:
import 'package:flutter_test/flutter_test.dart';
import 'package:mocktail/mocktail.dart';

class MockUserRepository extends Mock implements UserRepository {}

void main() {
  late ProviderContainer container;
  late MockUserRepository mockRepository;

  setUp(() {
    mockRepository = MockUserRepository();
    container = ProviderContainer(
      overrides: [
        userRepositoryProvider.overrideWithValue(mockRepository),
        currentUserIdProvider.overrideWithValue('user-123'),
      ],
    );
  });

  tearDown(() {
    container.dispose();
  });

  group('UserNotifier', () {
    final testUser = User(
      id: 'user-123',
      name: 'John Doe',
      email: 'john@example.com',
    );

    test('fetches user on initialization', () async {
      when(() => mockRepository.getUser('user-123'))
          .thenAnswer((_) async => testUser);

      // Access provider to trigger build
      final subscription = container.listen(
        userProvider,
        (_, __) {},
      );

      // Initially loading
      expect(
        container.read(userProvider),
        isA<AsyncLoading<User>>(),
      );

      // Wait for async operation
      await container.read(userProvider.future);

      // Now has data
      expect(
        container.read(userProvider).value,
        testUser,
      );

      subscription.close();
    });

    test('updateName updates state correctly', () async {
      final updatedUser = User(
        id: 'user-123',
        name: 'Jane Doe',
        email: 'john@example.com',
      );

      when(() => mockRepository.getUser('user-123'))
          .thenAnswer((_) async => testUser);
      when(() => mockRepository.updateUser('user-123', any()))
          .thenAnswer((_) async => updatedUser);

      // Wait for initial load
      await container.read(userProvider.future);

      // Perform update
      await container.read(userProvider.notifier).updateName('Jane Doe');

      // Verify new state
      expect(
        container.read(userProvider).value?.name,
        'Jane Doe',
      );

      verify(() => mockRepository.updateUser(
        'user-123',
        {'name': 'Jane Doe'},
      )).called(1);
    });

    test('handles fetch error', () async {
      when(() => mockRepository.getUser('user-123'))
          .thenThrow(ApiException('Not found', statusCode: 404));

      await expectLater(
        container.read(userProvider.future),
        throwsA(isA<ApiException>()),
      );

      expect(
        container.read(userProvider),
        isA<AsyncError<User>>(),
      );
    });
  });
}
Common Mistakes to Avoid
Using ref.watch in methods. Only use ref.watch in the build method. In other methods, use ref.read to avoid unexpected rebuilds:
// Wrong: causes rebuild loops
Future<void> updateUser() async {
  final repo = ref.watch(userRepositoryProvider); // Don't do this!
}

// Correct
Future<void> updateUser() async {
  final repo = ref.read(userRepositoryProvider);
}
Forgetting to handle loading state with previous data. Users don’t want to see a blank screen during refreshes. Use copyWithPrevious to maintain UI continuity.
Not disposing ProviderContainers in tests. Always call container.dispose() in tearDown to prevent state leakage between tests.
Building Robust Async State
Riverpod async notifiers provide a production-ready pattern for handling API state in Flutter. The combination of automatic lifecycle management, type-safe error handling, and built-in caching makes async operations predictable and maintainable.
Start with the basic pattern: define your data model, create a repository for data access, implement the async notifier, and consume it in widgets using .when(). As your needs grow, add error handling strategies, family providers for parameterized data, and comprehensive tests.
For broader state management patterns, explore our comparison of Riverpod vs BLoC and our guide to Clean Architecture with Dependency Injection. Understanding how async notifiers fit into larger architectural patterns will help you build Flutter apps that scale.