Flutter is Google’s open-source UI toolkit for building beautiful, cross-platform applications from a single codebase. Whether you’re targeting Android, iOS, web, or desktop, Flutter lets you write once and deploy everywhere.
In this guide, you’ll learn how to complete your Flutter setup from scratch, configure your development environment properly, understand common issues, and run your first Flutter app. By the end, you’ll have a working development environment ready for building production-quality applications.
Prerequisites Before You Start
Before installing Flutter, ensure your system meets the minimum requirements and you have the necessary tools installed.
System Requirements
macOS:
- macOS 10.14 (Mojave) or later
- At least 2.8 GB of disk space (more for IDE and emulators)
- Xcode for iOS development (from App Store)
Windows:
- Windows 10 or later (64-bit)
- At least 1.64 GB of disk space
- Windows PowerShell 5.0 or newer
- Git for Windows
Linux:
- 64-bit distribution
- At least 600 MB of disk space
- Required libraries: bash, curl, git, mkdir, rm, unzip, which, xz-utils
Step 1: Install the Flutter SDK
The Flutter SDK contains everything you need to develop Flutter apps, including the Dart SDK, command-line tools, and framework libraries.
macOS Installation
# Download Flutter SDK
cd ~/development
curl -O https://storage.googleapis.com/flutter_infra_release/releases/stable/macos/flutter_macos_arm64_3.x.x-stable.zip

# Extract the archive
unzip flutter_macos_arm64_3.x.x-stable.zip

# Add Flutter to PATH (add to ~/.zshrc or ~/.bashrc)
export PATH="$PATH:$HOME/development/flutter/bin"

# Apply changes
source ~/.zshrc
Alternatively, use Homebrew for easier management:
# Install via Homebrew
brew install --cask flutter

# Verify installation
flutter --version
Windows Installation
- Download the Flutter SDK zip from flutter.dev
- Extract to a location like
C:\flutter(avoid paths with spaces or special characters) - Add Flutter to your PATH:
# Open PowerShell as Administrator
[Environment]::SetEnvironmentVariable("Path", $env:Path + ";C:\flutter\bin", "User")

# Or manually:
# System Properties → Environment Variables → Edit Path → Add C:\flutter\bin
Linux Installation
# Install required dependencies
sudo apt-get update
sudo apt-get install -y curl git unzip xz-utils zip libglu1-mesa

# Download and extract Flutter
cd ~/development
wget https://storage.googleapis.com/flutter_infra_release/releases/stable/linux/flutter_linux_3.x.x-stable.tar.xz
tar xf flutter_linux_3.x.x-stable.tar.xz

# Add to PATH (add to ~/.bashrc)
export PATH="$PATH:$HOME/development/flutter/bin"

# Apply changes
source ~/.bashrc
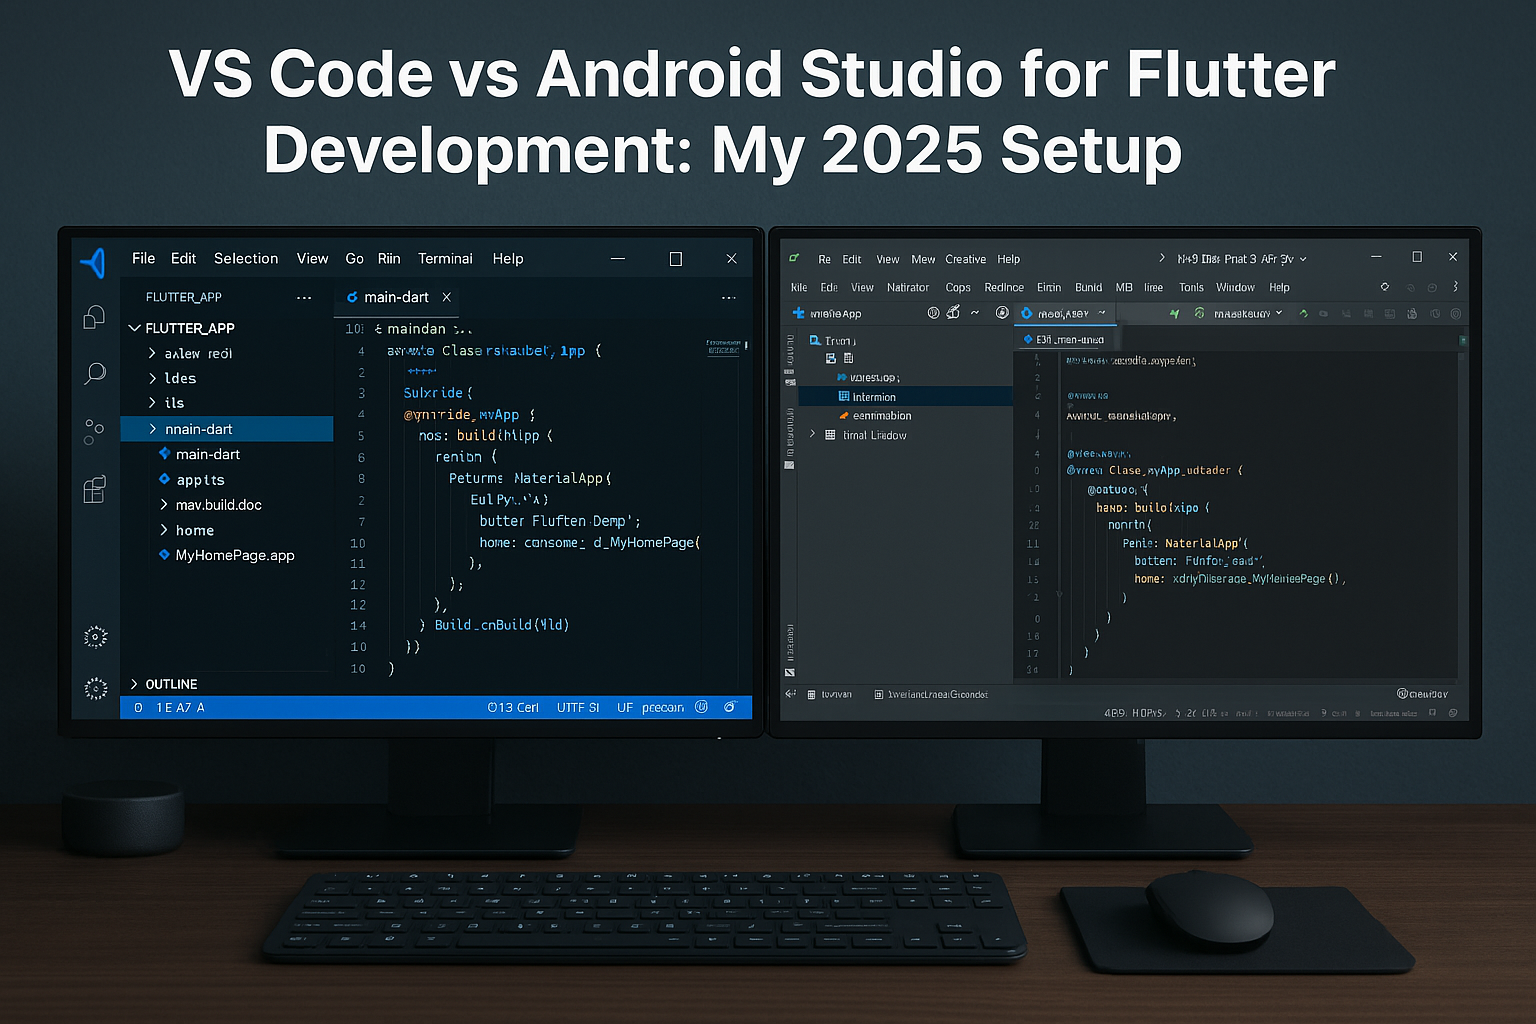
Step 2: Configure Your IDE
While you can use any text editor, VS Code and Android Studio provide the best Flutter development experience with integrated debugging, hot reload, and widget inspection.
VS Code Setup
- Install VS Code from code.visualstudio.com
- Open the Extensions view (Ctrl+Shift+X / Cmd+Shift+X)
- Search for “Flutter” and install the official extension
- The Dart extension installs automatically
Recommended VS Code settings for Flutter:
// settings.json
{
  "editor.formatOnSave": true,
  "editor.codeActionsOnSave": {
    "source.fixAll": true
  },
  "dart.previewFlutterUiGuides": true,
  "dart.previewFlutterUiGuidesCustomTracking": true
}
Android Studio Setup
- Install Android Studio from developer.android.com
- Open Android Studio → Preferences/Settings → Plugins
- Search for “Flutter” and click Install
- Restart Android Studio when prompted
Step 3: Set Up Target Platforms
Depending on which platforms you want to target, additional setup is required.
Android Setup
Android development requires the Android SDK and either an emulator or physical device.
# Accept Android licenses
flutter doctor --android-licenses

# If prompted, accept all licenses by typing 'y'
Creating an Android Emulator:
- Open Android Studio → Tools → Device Manager
- Click “Create Device”
- Select a device definition (Pixel 6 recommended)
- Download a system image (API 33+ recommended)
- Finish setup and launch the emulator
iOS Setup (macOS only)
iOS development requires Xcode and additional command-line tools.
# Install Xcode from App Store, then:
sudo xcode-select --switch /Applications/Xcode.app/Contents/Developer
sudo xcodebuild -runFirstLaunch

# Install CocoaPods for iOS dependencies
sudo gem install cocoapods

# Or with Homebrew
brew install cocoapods
Open iOS Simulator:
open -a Simulator
Web Setup
Flutter web development works out of the box with Chrome:
# Enable web support (usually enabled by default)
flutter config --enable-web

# Verify Chrome is detected
flutter devices
Step 4: Verify Your Installation
Flutter provides a diagnostic tool that checks your entire development environment.
flutter doctor -v
Example output:
[✓] Flutter (Channel stable, 3.x.x)
[✓] Android toolchain - develop for Android devices
[✓] Xcode - develop for iOS and macOS
[✓] Chrome - develop for the web
[✓] Android Studio
[✓] VS Code
[✓] Connected device (3 available)
Address any issues marked with [✗] or [!] before proceeding. Common issues include:
- Android licenses not accepted: Run
flutter doctor --android-licenses - Xcode not installed: Download from App Store
- CocoaPods not installed: Run
sudo gem install cocoapods - Android SDK not found: Install via Android Studio SDK Manager
Step 5: Create Your First Flutter App
Now that your environment is configured, let’s create and run your first Flutter application.
# Create a new Flutter project
flutter create my_first_app

# Navigate to the project directory
cd my_first_app
Flutter generates a complete project structure:
my_first_app/
├── android/          # Android-specific code
├── ios/              # iOS-specific code
├── lib/              # Dart source code
│   └── main.dart     # App entry point
├── test/             # Unit and widget tests
├── pubspec.yaml      # Dependencies and metadata
└── README.md
Understanding main.dart
Open lib/main.dart to see the default Flutter app:
import 'package:flutter/material.dart';

void main() {
  runApp(const MyApp());
}

class MyApp extends StatelessWidget {
  const MyApp({super.key});

  @override
  Widget build(BuildContext context) {
    return MaterialApp(
      title: 'Flutter Demo',
      theme: ThemeData(
        colorScheme: ColorScheme.fromSeed(seedColor: Colors.deepPurple),
        useMaterial3: true,
      ),
      home: const MyHomePage(title: 'Flutter Demo Home Page'),
    );
  }
}
Key concepts in this code:
- main(): App entry point that calls runApp()
- MaterialApp: Top-level widget providing Material Design styling
- StatelessWidget: Widget that doesn’t maintain state
- build(): Method that returns the widget tree
Step 6: Run Your Flutter App
With an emulator running or device connected, launch your app:
# List available devices
flutter devices

# Run on default device
flutter run

# Run on specific device
flutter run -d chrome        # Web
flutter run -d emulator-5554 # Android emulator
flutter run -d "iPhone 14"   # iOS simulator
You should see the default Flutter counter app. Click the floating action button to increment the counter.
Using Hot Reload
Flutter’s hot reload lets you see changes instantly without restarting the app:
- Keep your app running
- Make a change (e.g., change “Flutter Demo” to “My App”)
- Save the file (or press ‘r’ in the terminal)
- See the change immediately
Hot reload preserves app state, making development incredibly fast.
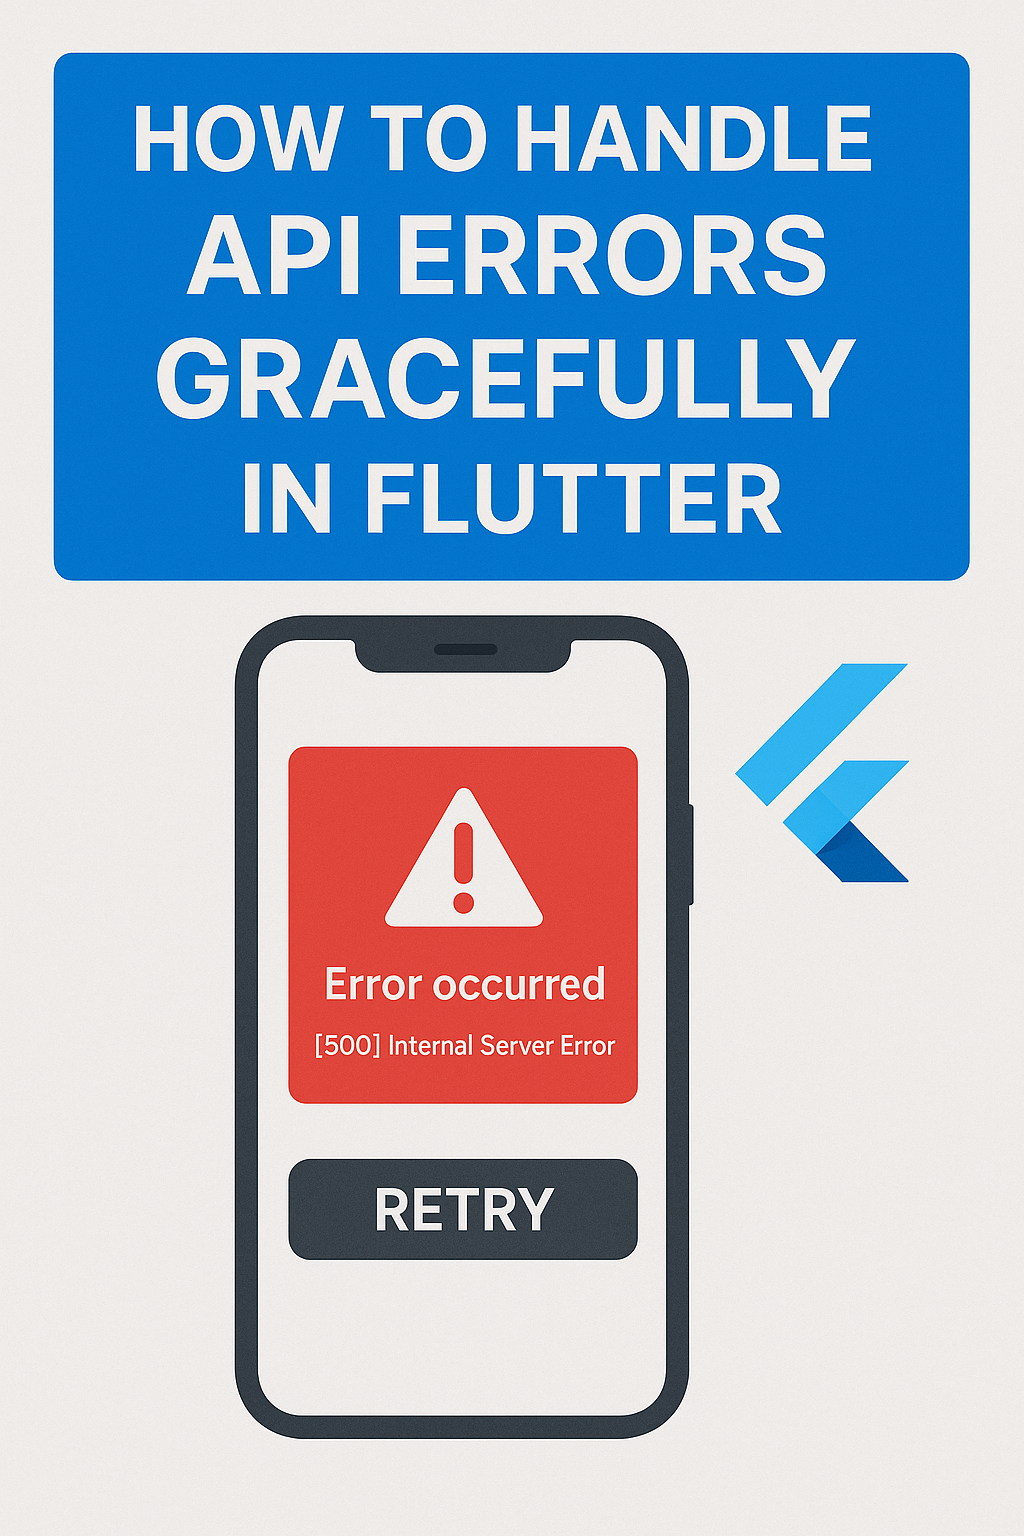
Troubleshooting Common Issues
Android Gradle Issues
# Clean and rebuild
flutter clean
cd android && ./gradlew clean && cd ..
flutter pub get
flutter run
iOS CocoaPods Issues
# Reinstall pods
cd ios
rm -rf Pods Podfile.lock
pod install --repo-update
cd ..
flutter run
Device Not Found
# Restart ADB for Android
adb kill-server
adb start-server

# For iOS, ensure device is trusted
flutter devices
Next Steps
With your Flutter setup complete, you’re ready to start building. Here are recommended next steps:
- Learn widgets: Explore Flutter’s widget catalog
- State management: See our guide on Provider vs Riverpod vs BLoC
- Build layouts: Learn about Responsive UI in Flutter
- Add backend: Connect to Firebase with our Firebase Setup Guide
Conclusion
You’ve successfully completed your Flutter setup and run your first app. Flutter’s hot reload, expressive UI framework, and single codebase for multiple platforms make it an excellent choice for cross-platform development.
The initial setup takes some time, but once configured, you’ll have a powerful development environment for building beautiful applications. Keep the flutter doctor command handy—it’s your first debugging step when issues arise.
For official documentation and tutorials, visit flutter.dev.

1 Comment