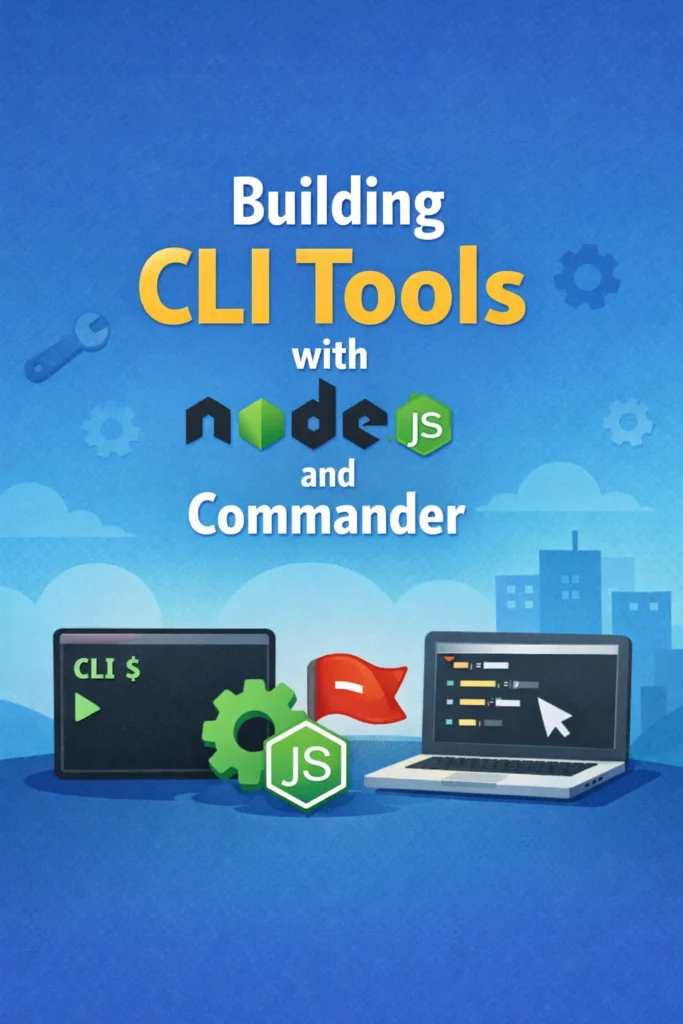
If you keep reaching for shell scripts that grow into unmaintainable messes, building a proper Node.js CLI with Commander is the upgrade path. This tutorial walks through a real CLI — argument parsing, subcommands, validation, testing, and npm publishing — the way you would ship it at work. By the end, you will have a production-ready tool that installs with npx and behaves like the CLIs you already trust. This guide is written for intermediate JavaScript developers who already know async/await and npm but have not built a distributable command-line tool before.
Why Commander (and Not yargs or oclif)?
Commander is the minimal argument parser for Node.js — it handles commands, options, flags, help output, and version strings with a small API and zero runtime dependencies. It is downloaded roughly 200 million times a week on npm, ships with tools like Vue CLI and Vercel’s earlier versions, and fits neatly into a single-file binary without forcing a project structure on you.
You do have alternatives. Here is how they actually compare:
| Feature | Commander | yargs | oclif |
|---|---|---|---|
| API style | Fluent / chainable | Chainable + middleware | Class-based, opinionated |
| Subcommand support | First-class | First-class | First-class |
| Plugins / hooks | Minimal | Middleware only | Full plugin system |
| Project scaffolding | No | No | Yes (generator) |
| Learning curve | Low | Low-medium | Medium-high |
| Best fit | Single-purpose tools | Scriptable CLIs | Multi-command products |
For most internal tools, dev scripts, and focused utilities, Commander is the right default. Reach for oclif only when you are building something closer to heroku or salesforce — many commands, plugins, a release lifecycle. Otherwise, Commander’s simplicity wins.
Prerequisites
Before you start, make sure you have:
- Node.js 18 or newer (Commander 12 drops Node 16 support)
- An npm account if you plan to publish publicly
- Basic familiarity with
package.json, ES modules, and async JavaScript
If you want to write your CLI in TypeScript, that is fine too — the approach is identical, you just add tsup or tsc to the build step. The examples below use plain JavaScript with ES modules to keep noise low.
Step 1: Initialize the CLI Project
Start by creating a project and pinning the shape of your binary in package.json. The key field is "bin" — this is what makes your tool callable from the shell after install.
mkdir taskly && cd taskly
npm init -y
npm install commander
Now open package.json and edit the fields that matter for a CLI:
{
  "name": "taskly",
  "version": "0.1.0",
  "type": "module",
  "bin": {
    "taskly": "./src/index.js"
  },
  "engines": {
    "node": ">=18"
  },
  "files": ["src"]
}
The "bin" field is the crucial part — npm creates a symlink on install, so running taskly from the shell invokes src/index.js. The "files" array whitelists what gets published, which prevents you from accidentally shipping tests or build artifacts. Additionally, "type": "module" lets you use import syntax without extra config.
Now create the entry file with a shebang line on top:
// src/index.js
#!/usr/bin/env node

import { Command } from 'commander';

const program = new Command();

program
  .name('taskly')
  .description('A small CLI for managing local task lists')
  .version('0.1.0');

program.parse(process.argv);
The #!/usr/bin/env node shebang is non-negotiable — without it, the shell does not know to invoke Node when you run the binary directly. On Unix systems, you also need to mark the file executable:
chmod +x src/index.js
Windows handles this differently — npm generates .cmd shim files on install, so you do not need chmod there. Next, link your package locally to test it as if it were globally installed:
npm link
taskly --help
You should see Commander’s auto-generated help output. That is your baseline — everything from here builds on it.
Step 2: Register Your First Command
A useful CLI does something. For Taskly, we will add an add command that creates a task. Commander’s .command() method registers a new subcommand, and .action() attaches the handler.
import { Command } from 'commander';
import { readFile, writeFile } from 'node:fs/promises';
import { resolve } from 'node:path';

const program = new Command();
const TASKS_FILE = resolve(process.cwd(), '.taskly.json');

async function loadTasks() {
  try {
    const data = await readFile(TASKS_FILE, 'utf8');
    return JSON.parse(data);
  } catch (err) {
    if (err.code === 'ENOENT') return [];
    throw err;
  }
}

async function saveTasks(tasks) {
  await writeFile(TASKS_FILE, JSON.stringify(tasks, null, 2));
}

program
  .name('taskly')
  .description('A small CLI for managing local task lists')
  .version('0.1.0');

program
  .command('add <title>')
  .description('Add a new task')
  .option('-p, --priority <level>', 'priority: low, medium, or high', 'medium')
  .action(async (title, options) => {
    const tasks = await loadTasks();
    tasks.push({
      id: Date.now(),
      title,
      priority: options.priority,
      done: false,
    });
    await saveTasks(tasks);
    console.log(`Added: ${title}`);
  });

program.parseAsync(process.argv);
A few things are happening here. First, <title> in angle brackets marks a required positional argument — Commander rejects the call if it is missing. Second, [optional] in square brackets would make it optional. Third, .option() defines a flag with a short form (-p), long form (--priority), description, and default value. Finally, parseAsync (instead of parse) is what you want when your handlers return Promises — otherwise errors in async code get swallowed.
Now run it:
taskly add "Finish the CLI tutorial" --priority high
# Added: Finish the CLI tutorial
Step 3: Add Subcommands, Options, and Arguments
Real CLIs have multiple related commands. For Taskly, we need list, done, and remove alongside add. Commander lets you register them the same way, and it auto-generates coherent help output across all of them.
program
  .command('list')
  .description('Show all tasks')
  .option('-a, --all', 'include completed tasks')
  .option('--priority <level>', 'filter by priority')
  .action(async (options) => {
    const tasks = await loadTasks();
    const filtered = tasks
      .filter((t) => options.all || !t.done)
      .filter((t) => !options.priority || t.priority === options.priority);

    if (filtered.length === 0) {
      console.log('No tasks found.');
      return;
    }

    for (const task of filtered) {
      const status = task.done ? '[x]' : '[ ]';
      console.log(`${status} ${task.id} (${task.priority}) — ${task.title}`);
    }
  });

program
  .command('done <id>')
  .description('Mark a task as completed')
  .action(async (id) => {
    const tasks = await loadTasks();
    const task = tasks.find((t) => String(t.id) === id);
    if (!task) {
      console.error(`No task found with id ${id}`);
      process.exitCode = 1;
      return;
    }
    task.done = true;
    await saveTasks(tasks);
    console.log(`Marked done: ${task.title}`);
  });

program
  .command('remove <id>')
  .alias('rm')
  .description('Delete a task')
  .action(async (id) => {
    const tasks = await loadTasks();
    const next = tasks.filter((t) => String(t.id) !== id);
    if (next.length === tasks.length) {
      console.error(`No task found with id ${id}`);
      process.exitCode = 1;
      return;
    }
    await saveTasks(next);
    console.log(`Removed task ${id}`);
  });
The .alias('rm') call lets users type either taskly remove 123 or taskly rm 123. Aliases are underused — they dramatically improve the ergonomics of a CLI you will use daily.
Notice how process.exitCode = 1 signals failure without killing the process immediately. This matters for pipelines, CI, and chained commands — taskly done 999 && taskly list should stop after the first failure, and a non-zero exit code is how the shell knows to stop.
Step 4: Validate Input and Handle Errors
Default Commander validation is minimal — it checks that required arguments are present and that option values parse. Everything else is your job. For production CLIs, always add a validation layer before the handler runs its real work.
function validatePriority(value) {
  const allowed = ['low', 'medium', 'high'];
  if (!allowed.includes(value)) {
    throw new Error(`Priority must be one of: ${allowed.join(', ')}`);
  }
  return value;
}

program
  .command('add <title>')
  .description('Add a new task')
  .option('-p, --priority <level>', 'priority: low, medium, or high', validatePriority, 'medium')
  .action(async (title, options) => {
    if (title.trim().length === 0) {
      console.error('Task title cannot be empty');
      process.exitCode = 1;
      return;
    }
    // ... rest of handler
  });
When you pass a function as the third argument to .option(), Commander calls it with the raw value and uses the return value. Thrown errors bubble up as proper CLI errors with exit code 1. This pattern beats doing validation inside the handler — it keeps the happy path clean and lets you reuse validators across commands.
For catch-all error handling, wrap your parse call:
try {
  await program.parseAsync(process.argv);
} catch (err) {
  console.error(`Error: ${err.message}`);
  process.exitCode = 1;
}
Unexpected failures — a disk full error, a JSON parse error from a corrupted .taskly.json — now produce a clean message instead of a stack trace. However, you may want to show the full stack in a --verbose mode, which leads to the next step.
Step 5: Help Text, Versioning, and Global Flags
Commander generates help automatically, but polished CLIs customize it. Add descriptions, examples, and a --verbose flag that persists across all subcommands.
program
  .name('taskly')
  .description('A small CLI for managing local task lists')
  .version('0.1.0')
  .option('-v, --verbose', 'enable verbose logging')
  .hook('preAction', (thisCommand, actionCommand) => {
    if (thisCommand.opts().verbose) {
      process.env.TASKLY_VERBOSE = '1';
    }
  });

program.addHelpText('after', `
Examples:
  $ taskly add "Write tests" --priority high
  $ taskly list --all
  $ taskly done 1699999999999
  $ taskly rm 1699999999999
`);
The hook('preAction') callback runs before every subcommand, which is exactly where cross-cutting concerns like logging setup, telemetry, or env var handling belong. Consequently, your handlers stay focused on their actual job.
For versioning, resolve the number from package.json at runtime so you never forget to bump it:
import { readFile } from 'node:fs/promises';
import { fileURLToPath } from 'node:url';
import { dirname, join } from 'node:path';

const __dirname = dirname(fileURLToPath(import.meta.url));
const pkg = JSON.parse(
  await readFile(join(__dirname, '..', 'package.json'), 'utf8')
);

program.version(pkg.version);
This works in both dev and published modes because package.json ships with the package by default.
Step 6: Test Your CLI
Handler logic deserves tests like any other code — CLI commands are just functions that happen to read from argv. Export your handlers separately so unit tests can call them directly without spawning subprocesses.
// src/commands/add.js
export async function addHandler(title, options, deps = {}) {
  const { loadTasks = defaultLoad, saveTasks = defaultSave, log = console.log } = deps;
  const tasks = await loadTasks();
  tasks.push({ id: Date.now(), title, priority: options.priority, done: false });
  await saveTasks(tasks);
  log(`Added: ${title}`);
}
Dependency injection through the deps parameter keeps tests fast and isolated. Here is a Vitest test that verifies behavior without touching the real filesystem:
// src/commands/add.test.js
import { describe, it, expect, vi } from 'vitest';
import { addHandler } from './add.js';

describe('add command', () => {
  it('appends a new task with the given priority', async () => {
    const existing = [{ id: 1, title: 'old', priority: 'low', done: false }];
    const saveTasks = vi.fn();
    const log = vi.fn();

    await addHandler('new task', { priority: 'high' }, {
      loadTasks: async () => existing,
      saveTasks,
      log,
    });

    expect(saveTasks).toHaveBeenCalledOnce();
    const saved = saveTasks.mock.calls[0][0];
    expect(saved).toHaveLength(2);
    expect(saved[1].title).toBe('new task');
    expect(saved[1].priority).toBe('high');
    expect(log).toHaveBeenCalledWith('Added: new task');
  });
});
For end-to-end tests that exercise Commander’s parsing itself, spawn the CLI in a subprocess with execa. These are slower but catch issues like missing shebangs or shell quoting bugs. For a deeper look at test setup, see our guide on unit testing with Jest and Vitest.
Step 7: Publish to npm
When your CLI works locally and tests pass, publish it. First, confirm your package name is available — visit npmjs.com/package/YOUR_NAME and check for 404. If the name is taken, use an npm scope (@yourname/taskly) instead.
npm login
npm publish --access public
The --access public flag is required for scoped packages on the free tier; unscoped packages are public by default. After publishing, anyone can install and run it:
# Global install
npm install -g taskly
taskly add "Try the published version"

# Or one-shot via npx
npx taskly add "Try without installing"
A real publishing workflow also wants continuous integration. Wire up npm publishing on git tag push using GitHub Actions — our Node.js CI/CD guide covers the full pipeline, including npm token secrets and release automation. In addition, lint and format your source before publish using Prettier and ESLint — see Prettier and ESLint setup for TypeScript/JavaScript for a config that works well with CLIs.
Real-World Scenario: Replacing a Bash Script That Grew Too Big
Internal teams often hit the same breaking point: a 200-line deploy.sh script that started as a 10-liner and has become unmaintainable. The symptoms are predictable — no argument parsing, cryptic error messages, no help text, silent failures when a grep returns nothing, and nobody except the original author can change it safely.
Migrating to a Node.js CLI with Commander typically takes a few days for a script of that size, and the payoff shows up in three places. First, argument handling gets clearer — --environment staging --skip-tests is self-documenting in a way that positional bash arguments never are. Second, error handling becomes structured — a thrown error in JavaScript is easier to reason about than checking $? after every command. Third, subcommands let you split concerns — mytool deploy, mytool rollback, mytool status all live in one binary instead of four scripts.
The trade-off is real. A single Node.js CLI adds a Node runtime dependency that the pure bash script did not have, and startup time on a cold Node process is measurably slower than bash. For tiny, fast-path utilities that run hundreds of times a minute in a pipeline, bash still wins. For everything else — developer workflows, release tooling, internal admin CLIs — Node with Commander is the saner default.
When to Use Commander
- You need more than two or three flags and want clean help text
- Your tool has multiple subcommands (
mytool build,mytool deploy) - You want first-class async/await support in handlers
- You care about cross-platform compatibility (Windows included)
- You value a small, dependency-free parser over a full framework
When NOT to Use Commander
- Your tool has a single flag and a single behavior — a 20-line script is fine
- You are building something like
herokuwith dozens of commands and plugins — reach for oclif - You need a full TUI with prompts and menus — combine Commander with a library like
@inquirer/promptsor useinkdirectly - The tool will be invoked thousands of times per minute in a tight loop where Node startup time matters
Common Mistakes with Commander
- Forgetting the
#!/usr/bin/env nodeshebang, which makes the binary fail silently on Unix - Using
program.parse()instead ofprogram.parseAsync()with async handlers, causing swallowed errors - Hardcoding the version string in multiple places instead of reading
package.json - Skipping the
"files"field inpackage.jsonand accidentally publishing tests,.git, or node_modules - Writing all logic inline in
.action()callbacks, making unit testing impossible — export handler functions instead - Treating
process.exit(1)as the only error path — preferprocess.exitCode = 1so pending I/O completes - Not wiring
--verboseor a similar global flag, making production incidents hard to debug
Conclusion
Commander turns a Node.js CLI from a one-off script into a shippable tool with argument parsing, subcommands, validation, and clean help output — all in a tiny, dependency-free package. Start with a single command, add subcommands as your tool grows, and export handlers so you can test them in isolation before publishing. For your next step, look at Node.js streams for efficient file processing if your CLI needs to handle large files, or the scalable Express.js project structure guide if you are building a companion server. A Node.js CLI with Commander is one of the most leverage-dense tools you can add to your workflow — build one this week and you will reach for the pattern repeatedly.